MIL-PRF-62309G
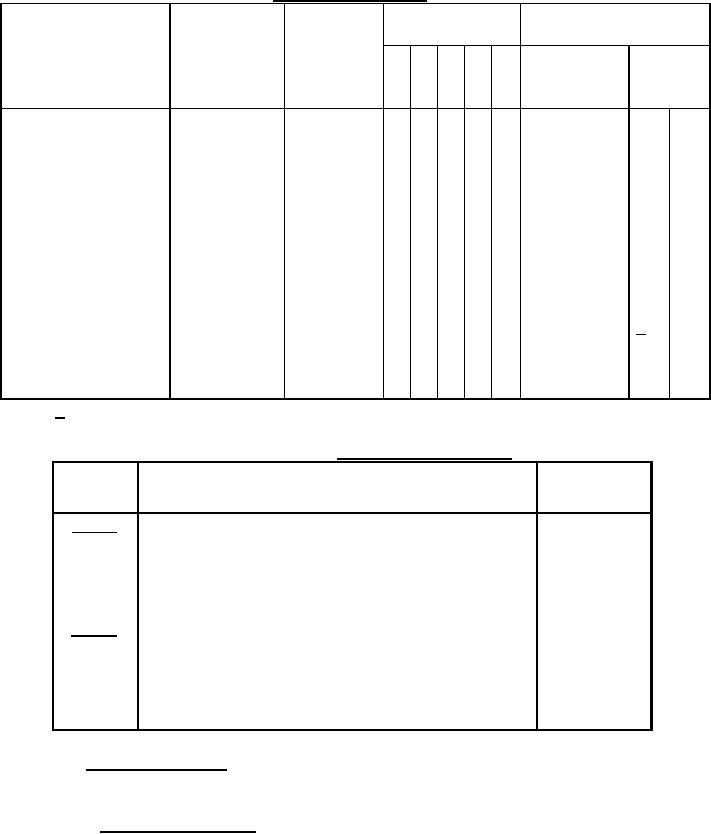
TABLE III. Verification methods � Continued.
Conformance
First Article
Inspection
Acceptance
tests
Control
Title
Requirement Inspection 1 2 3 4 5
(100%)
tests
Post service air-flow 3.5.2.1
4.3.5.2.1
X
X
pressure drop
Marking
3.5.3
4.3.5.3
X
Workmanship
3.5.4
4.3.5.4
X
3.6
4.3.6
Operating
environment
requirement
Dust filtration
3.6.1
4.3.6.1
X
XX
X
Seal ozone
3.6.2
4.3.6.2
X
resistance
Flame resistance
3.6.3
4.3.6.3
X
1/
Low temperature
3.6.4
4.3.6.4
XX
High temperature
3.6.5
4.6.6.5
XX
Vibration
3.6.6
4.3.6.6
XX
1/ Perform flame resistance test after completing post service airflow pressure drop test.
TABLE IV. Classification of defects.
Method of
examination
Category
Defect
Major:
101
Incorrect or faulty materials (see 3.2 thru 3.2.2).
Visual
102
Dimensions affecting interchangeability, not within
Visual and
tolerance (see 3.4.1 and 3.4.2).
gage
103
Incorrect or illegible marking (see 3.5.3).
Visual
Minor:
201
Dimensions not affecting interchangeability, not
Visual and
within tolerance (see 3.4.1 and 3.4.2).
gage
Poor workmanship (see 3.5.4).
Visual
202
Incorrect packaging (see 5.1).
Visual
203
4.2 Order of inspection. Perform environmental tests first, followed by the remaining
verification in any order.
4.2.1 Inspection equipment. Unless otherwise specified in the contract (see 6.2), the
supplier is responsible for the provision, maintenance and accuracy of all inspection equipment
necessary to assure that supplies and services conform to contract requirements. The following
test equipment, or equivalent shall be used in the performance of the inspections and tests
specified herein:
11
For Parts Inquires call Parts Hangar, Inc (727) 493-0744
© Copyright 2015 Integrated Publishing, Inc.
A Service Disabled Veteran Owned Small Business